
Highlight
This article focuses on the “Highlighting” features of Weava, and is part of the 4-series onboarding guide to help you make the most out of Weava.


This article focuses on the “Highlighting” features of Weava, and is part of the 4-series onboarding guide to help you make the most out of Weava.
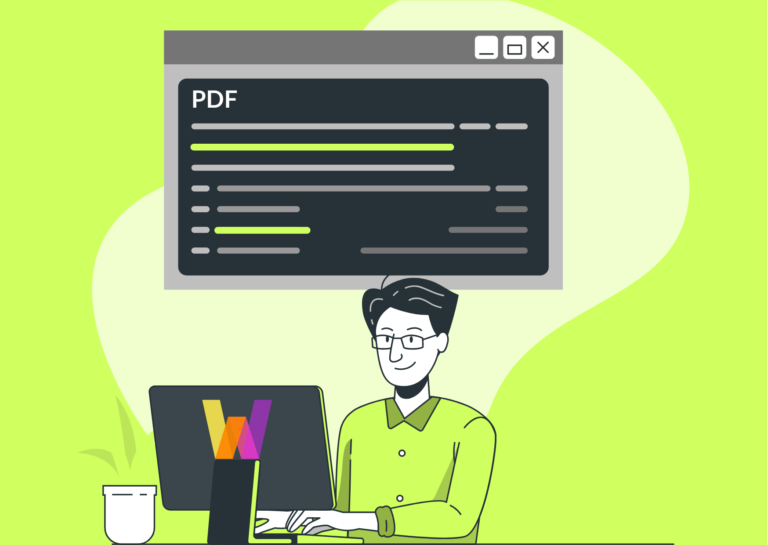
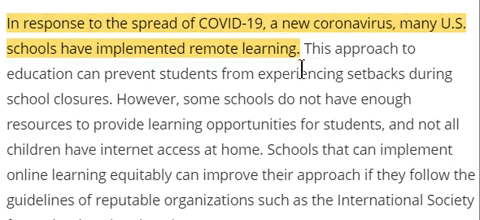
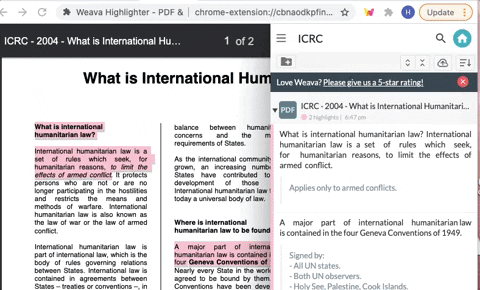
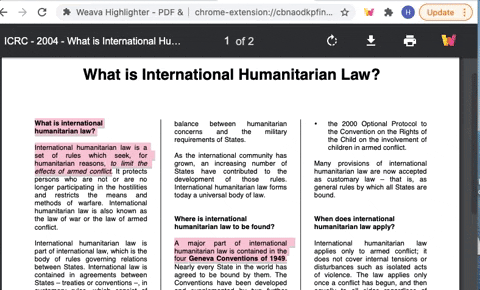
This brief article is created to help you learn how to highlight online PDFs with Weava.

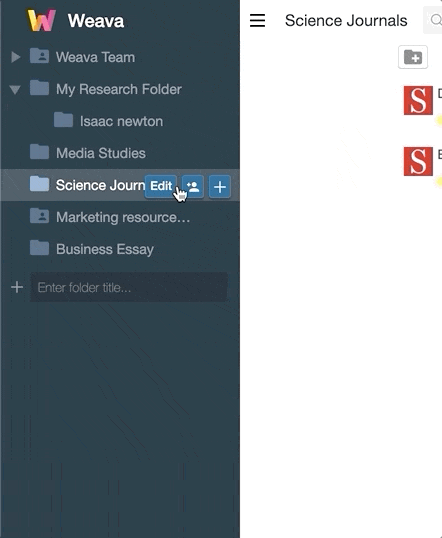
Here we explain how you can navigate to the Weava dashboard and export your highlights and notes to other formats.

Weava has customizable keyboard shortcuts in Google Chrome to make it easier and quicker for you to be productive online.